These days, more and more people are turning to DIY projects for their seasonal décor. Who can blame them? When you take the “DIY route,” you have ultimate control. You decide on what colors to use, what supplies you’ll need, how much you want to spend, etc. Of course, your kids will want to get involved once you get the crafting started! They’re going to love making our latest holiday project.
Kid-Friendly DIY Photo Ornament

This Holiday Season, Get Your Kids Involved With The DIYs!
Kids love lending a hand with holiday setup. Whether they decide to be helpers in the kitchen or assistants for Christmas tree set-up, they always manage to get involved with finalizing holiday preparations.
Parents are often hesitant in letting their children handle certain holiday projects: especially when it comes to tree ornaments. Many ornaments are fragile and could pose a safety issue if they break (ie.: sharp pieces scattered on the floor). This year, I decided to make my own ornaments and realized that it would be great for the kids to help out for some of them. My DIY Photo Ornaments are easy to put together and have a nice, personal touch to them.
How To Make Kid-Friendly Photo Ornaments
Supplies
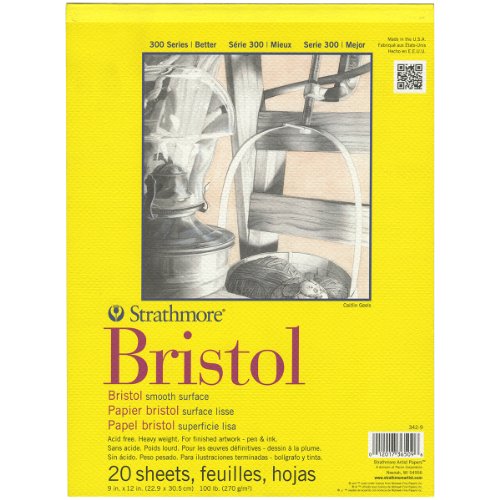
- Card stock or bristol board
- Holiday-themed wrapping paper
- Scissors
- White glue and a popsicle stick
- Photographs
- Hole puncher
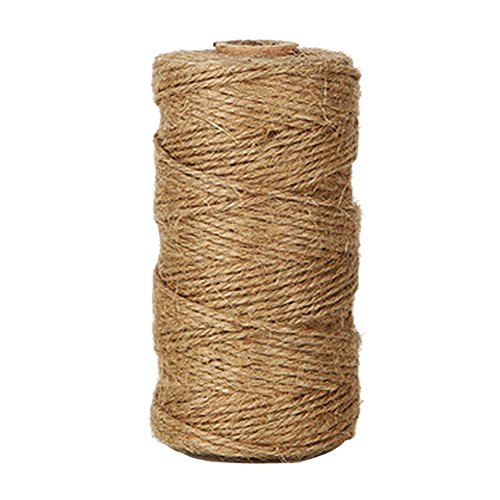
- Twine
Bristol Smooth Paper PadWrapping Paper Christmas Sets
Natural Jute Twine

Directions
1. Cut your card stock/bristol board into large squares. I made each of my squares around 5″ x 5″. It makes it easier to cut them into “ornament shapes” when they’re pre-cut.

2. Glue a layer of wrapping paper on each piece of card stock. You can use a popsicle stick to spread and ensure a more even consistency. Allow to dry.
3. Once dry, you can cut your covered card stock into your desired shapes. Grown-ups, this will be your job. Use the backside to draw out the shape and cut.
4. Cut your photos so that they fit within your card stock. Glue the photo in the center.
5. Punch a hole at the top of your ornament, about 1/2 inch – 1 inch below the edge so as to avoid any ripping.
6. Cut a piece of twine, about 7-10 inches long and put it through the ornament’s hole. Tie a knot.
So what are you waiting for? I’m sure your kids are eager to help out with holiday preparations! With these oh-so-easy ornaments, they’ll be occupied and will be extremely proud once they see it hanging on the tree! These DIY Photo Ornaments are a simple way to make your kids feel involved with Christmas prep.
Share This!
[social_warfare buttons=”Pinterest,Twitter,Facebook”]
<