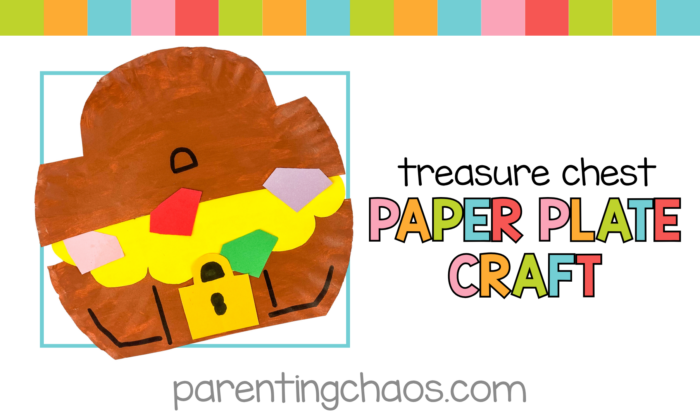
Somewhere between ‘what should we do today’ and ‘please stop climbing the furniture’ lives the perfect paper plate craft. This treasure chest one is exactly that, simple enough for little hands, cute enough to hang on the fridge, and done before anyone gets restless.
This Treasure Chest Paper Plate Craft with Visual Instructions is a paper plate craft and a printable resource all in one. It comes with a full visual instructions that walks kids through every step with pictures so they can follow along independently, build confidence, and end up with something genuinely cute. Win-win for everyone involved.
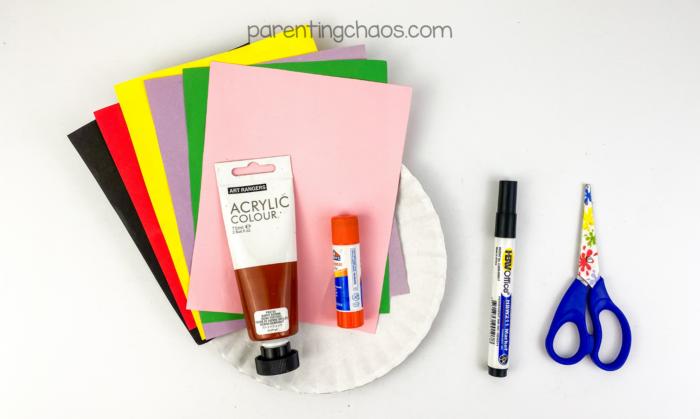
What You’ll Need for This Treasure Chest Paper Plate Craft
Good news: the supply list is short. Here’s what to gather before the fun begins:
- 1 paper plate (standard white works great)
- Scissors (kid-safe for little helpers, sharper for the grown-up cutting assist)
- Glue or a glue stick (the less drippy, the better – you know your kid)
- Black marker
- Construction paper
- Paintbrush
- Brown Paint
- The printable Treasure Chest Paper Plate Craft Visual Instructions + Template
What’s in the Printable?
The Treasure Chest Paper Plate Craft with Visual Instructions printable includes everything kids need to complete the activity step by step.
Inside the printable, you’ll find:
- Printable craft template with all the pieces needed to create the treasure chest
- Step-by-step visual instructions showing each stage of the craft with clear pictures
- Single-step task cards that break the activity into simple, manageable steps
- Writing paper to extend the activity with drawing or writing
The visual instructions and task cards are especially helpful for kids who benefit from seeing directions instead of only hearing or reading them. This makes the activity easier for early readers, visual learners, and children who work best with structured steps.
It also makes the craft much easier to set up and allows kids to work more independently while they create their treasure chest.
How to Make Your Treasure Chest Paper Plate Craft
Below you’ll find a step-by-step overview of how to make the treasure chest craft using the printable template.
Step 1: Gather Your Treasure Chest Craft Supplies
Before you begin, gather all of the materials needed for the craft. Having everything ready makes the activity run smoothly and helps kids stay focused on creating.
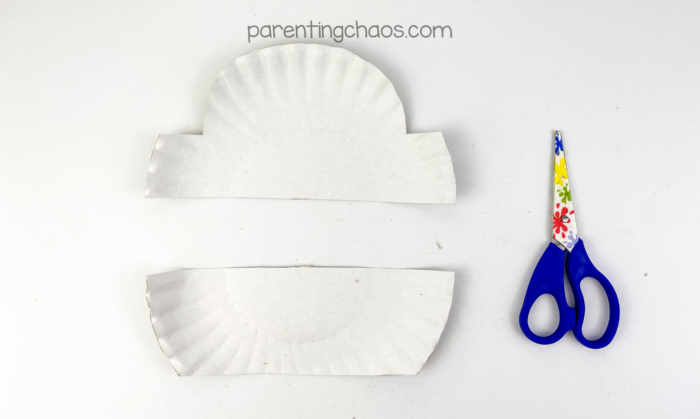
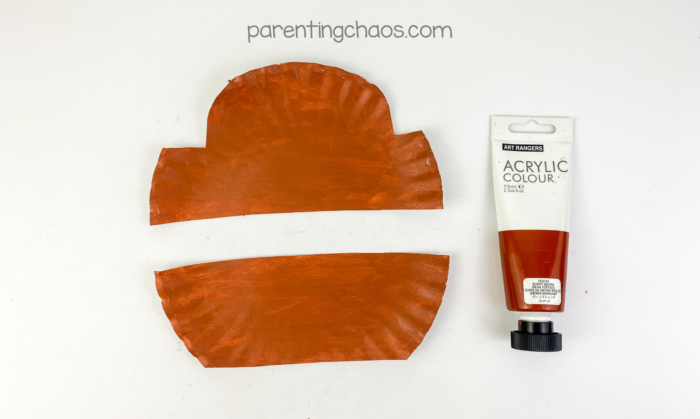
Step 2: Cut the Treasure Chest Shape from the Paper Plate
Next, use the printable template as a guide to cut the paper plate into the treasure chest pieces. The plate is separated into two sections that will form the top and bottom of the chest.
Step 3: Paint the Treasure Chest Brown
Once the paper plate pieces are cut, paint them brown using a paintbrush. Let the paint dry before moving on so the pieces don’t smudge when they are glued together.
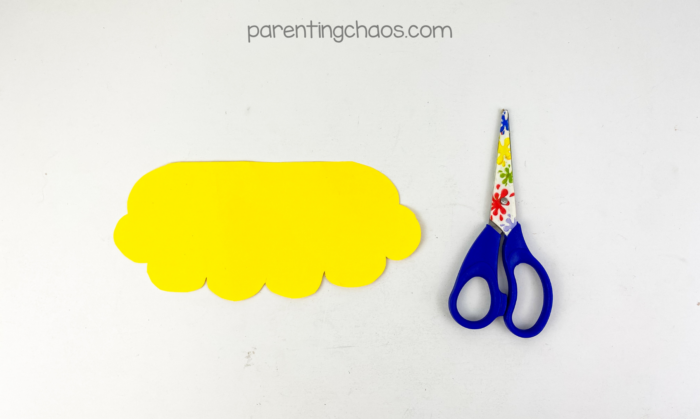
Step 4: Cut Out the Pile of Gold
Using the printable template, cut out the pile of gold shape from yellow construction paper. This bright piece will sit between the top and bottom sections of the treasure chest to look like it is filled with gold coins.
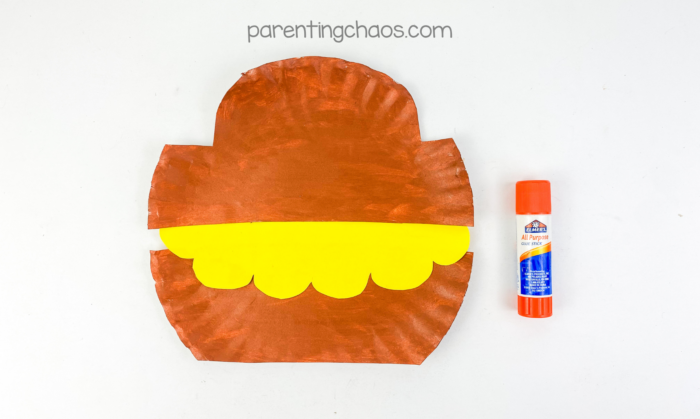
Step 5: Glue the Treasure Chest Together
Now it’s time to assemble the treasure chest. Glue the painted paper plate pieces together with the yellow gold piece placed in the middle.
Position the gold so it peeks out from inside the chest, giving the appearance that the treasure chest is overflowing with treasure.
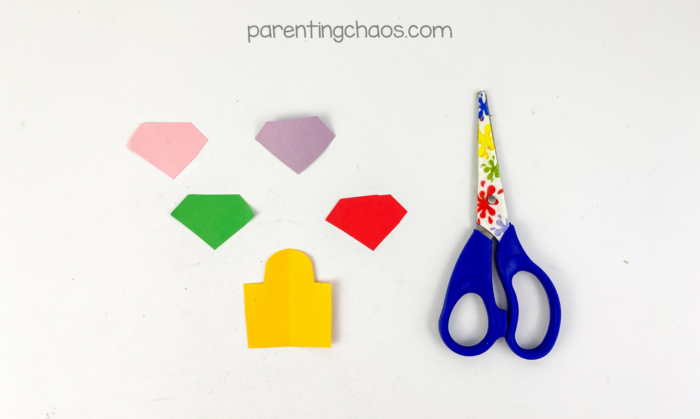
Step 6: Cut Out the Gemstones and Lock
Next, use the template to cut out the gemstone shapes and the lock piece from construction paper.
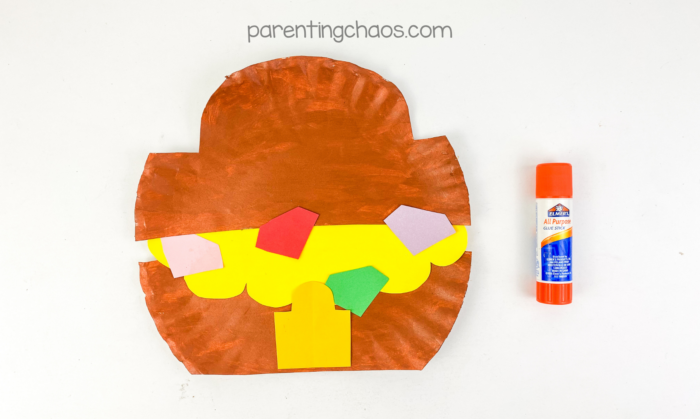
Step 7: Glue the Gems and Lock onto the Chest
Glue the gemstones across the gold pile and attach the lock to the front of the treasure chest.
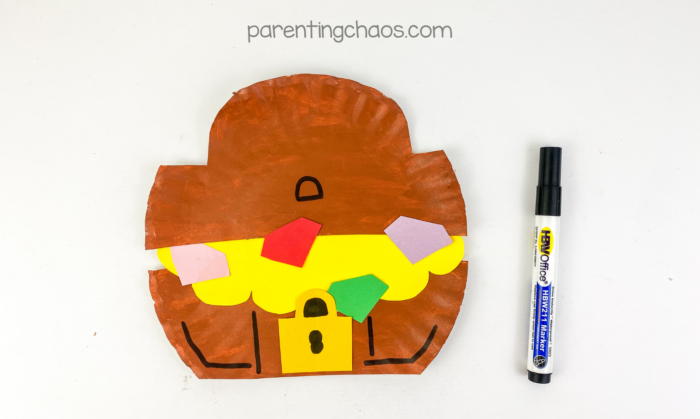
Step 8: Add Details with a Black Marker
Use a black marker to draw details on the treasure chest. Adding lines for wood panels, hinges, or extra decorations helps bring the craft to life and gives the chest more character.
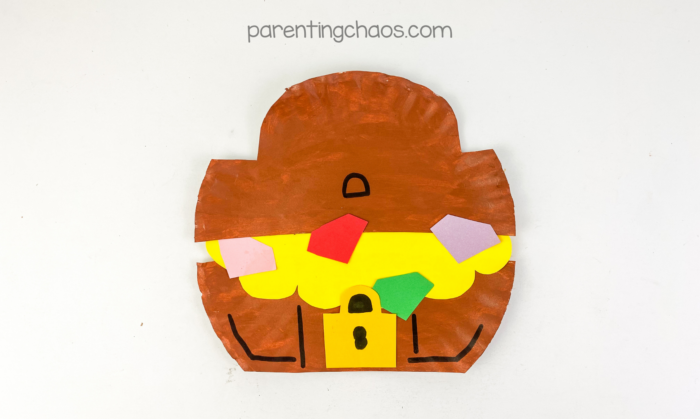
Step 9: Display Your Finished Treasure Chest Craft
Once everything is dry, the treasure chest paper plate craft is ready to display!
Why Visual Instructions Make a Difference
A lot of kids (and honestly, a lot of adults) do better when they can see what each step is supposed to look like. Visual instruction cards remove the guesswork and give kids a concrete reference point throughout the craft. This means fewer ‘wait, what do I do now?’ moments, more independent work time, and a smoother experience for everyone.
For kids in therapy, special education settings, or who simply benefit from visual supports, having picture-based directions alongside the craft is a genuine game-changer! They are also just really helpful for classroom centers where a teacher can’t be at every table at once.
Tips for a Smooth Craft Session
- Pre-cut the template pieces for younger kids (3-4 year olds) and let them focus on the assembling and decorating.
- Print a couple of extra templates – one for practicing, one for the display-worthy version.
- If using paint, let it dry fully before adding paper pieces so nothing slides around.
- Laminate the visual instruction card for repeat use.
Grab Your Treasure Chest Paper Plate Craft with Visual Instructions
Ready to add this one to your rotation? You can grab the Treasure Chest Paper Plate Craft with Visual Instructions below. Print, prep, and play – it’s that simple.
More Pirate Activities for Kids
If your crew loved making this treasure chest paper plate craft, here are a few more pirate-themed activities to keep the adventure going:
Pirate Books for Kids – swashbuckling stories full of treasure maps, silly pirates, and high-seas adventures that spark imagination and storytelling.
Pirate Paper Plate Craft for Kids – another easy, budget-friendly craft that turns a simple paper plate into a fun pirate-themed creation kids will love!
These pirate activities pair perfectly with craft time, story time, or a full pirate-themed learning day.
Please Share This Treasure Chest Paper Plate Craft
Your shares are what keep this little corner of the internet cozy, creative, and full of hands-on fun — and I’m so grateful for every single one! Know a parent, teacher, or therapist who’d love this treasure chest paper plate craft with visual instructions? Share it on Facebook or save it to your favorite kids’ crafts board on Pinterest.